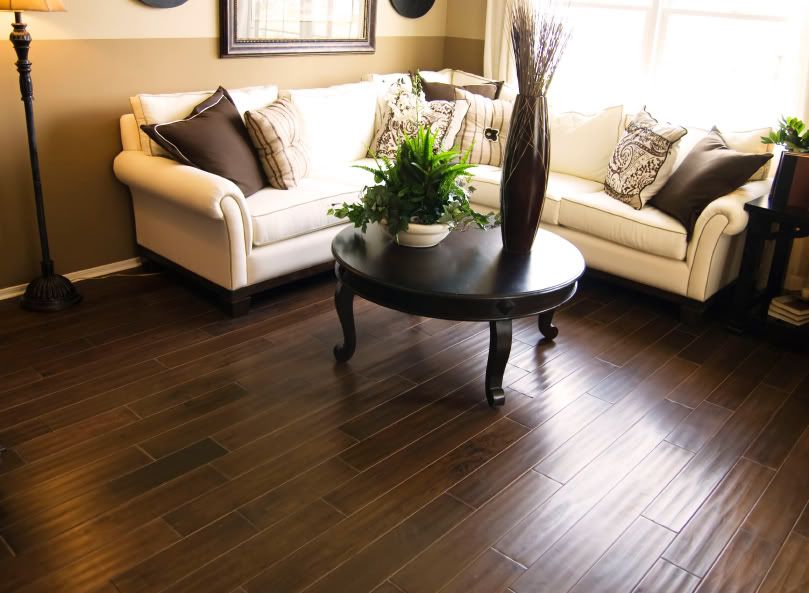
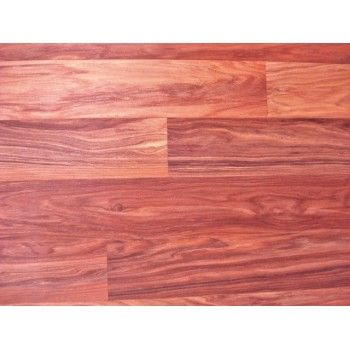
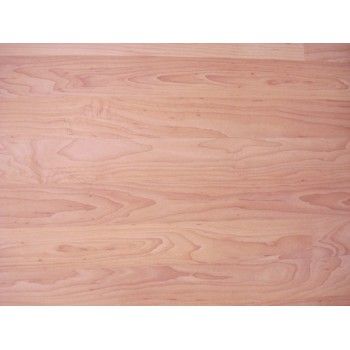
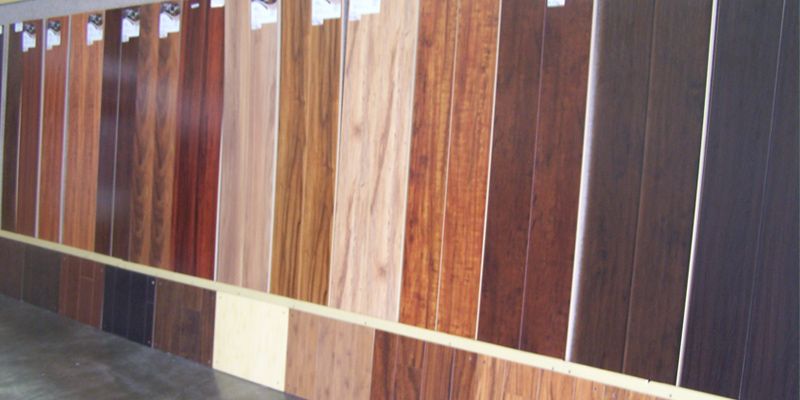
Wooden floors are among the most naturally attractive forms of flooring To meet the growing trends where a lot of people like to have wood flooring in their home. There is a practical solution which is long, narrow strips of wood which is 1cm [3/4 inches] thick which are in a kit form which are easy to lay on any sub-floor. It is made from solid wood or with a pine, oak, or beech veneer on a particle board core and the strips are tongued-and-grooved on their edges so they simply slot together. They can be secured by nailing to a wooden sub-floor, fixed with clips set in a groove on the underside of the boards or glue firmly with PVA or wood glue if your floor is concrete. The wood strips comes in a variety of lengths and widths. The next thing you need to do is to measure the area that you are going to do and then figure out the amount that you need to get. Good Ground works First, check on the condition of your sub-floor. On wooden floorboards, if your floor boarding are sound the only thing you will need to hammer home projecting nail heads and then you will need to sand smooth any raised areas. Now if your sub floor is poor, you will have to put plywood to create a smooth, level surface. If you have PVC or linoleum floor coverings can remain in place. If you have a concrete sub floor you have to make sure that there is no dampness found. You can check this by taping a piece of glass to the floor for several days. If you find moisture collecting on the underside, you definitely have a problem and this requires specialist attention. Filled all of the irregularities and clean the floor surface thoroughly. Then give it a continuous waterproof coating either with a polyurethane sealing compound or sheets of thick plastic foil. Before you lay strip flooring down, you should put a layer of insulating material in between. When you are laying your new floors, you need to take off all your doors of their hinges, because the new flooring will raise the floor level up. Wood expands and contracts with changes in temperature and humidity. Before you start laying your flooring down you need to store them in unopened packages at room temperatures for at least 48 hours before you start laying your wood floor. MATERIALS Hammer, chisel and a small crowbar, fine-toothed saw and fretsaw. A tamping block which is made from a piece of softwood. Spacer blocks of wood about 1 cm thick., pencil, ruler and adjustable template, PVA or wood glue, clips, or nails, depending on the fixing method Laying Wood strip Flooring 1. You will need to place the first board with the grooves edge to the wall. Then place spacer blocks, cut to the size of the expansion gap required, between the board and the wall. 2. Keep laying the boards, end to end, to complete the first row. Fit them dry first and trim the end planks so that it falls 1 cm from the wall. You will need to place the last board so that the tongue lies next to tongue, with the end butted to the wall and a spacer block in position. Then mark where you need to saw and cut to the length. 3. If you are using secret nailing, you need to hammer the fixing pins at an angle of 45 degree down through the tongues into the wooden sub-floor, but make sure you do not over hammer or overdrive the nails so the tongues do not split. Nails should be spaced 12 inches apart. Always punch the heads below the surface. 3B. Now if you are using fixing clips, the method of fixing depends on the system. One way is you tap the clips into the grooves in the underside of the boards at whatever the intervals are, and lay them against the spacer blocks. 3C. If you are using gluing, you need to glue the ends as they butt together and PVA adhesive is what you need to use. Apply a little amount of the adhesive to each plank and tap them into position. Wipe the excess adhesive away with a damp cloth. Use a string line to check to make sure the boards are straight and if they are not, then adjust. Remove, or add spacer blocks. 4. Keep laying the subsequent rows, with the joints staggered which means they should not be any closer than 12 inches apart. Start the sector row with the piece of board left over from the first one. Then tap into place with your hammer and then tamp block and secure them as before . 5. When you get to the last row, you need to measure the plank of the wood strip to fill the gap that you have remaining by placing one board on top of the one before and another with the tongue butting against the wall. 6. When you are easing a plank into place, you need to use your ruler and a pencil and mark along the cutting line. Then saw it where you need to and ease into place using the bolster and hammer the boards in tight. 7. To replace the skirting board, you have to remove the spacer blocks, then replace skirting or fit beading strip to cover the gap. SUMMARY Natural wood is a practical and a good-looking choice of flooring for any room. Wood strip is easy to clean, so this makes it very hygienic. This flooring can hold up to non-stop household traffic. So with the way wood flooring looks is the way wood flooring looks is another good reasoning to have it.
Today there are several different surfaces that I can put in my bathroom. Ceramic tile used to be the only type of surface that was put in bathrooms, but now I can also choose from stones, wood, glass, and concrete. If I used stone in my bathroom I will have a dizzying array of colors. Concrete can be dressed up in different ways. This is a lot to think about when it comes down to it. There is a big assortment of colors, materials, and treatments in the synthetic category which includes solid surfacing material, quartz composite, and plastic laminate. The Top Ten Surface Trends 1. Natural materials is where I have stone as an addition, wood is being used a lot in the bathrooms. 2. Glass is being used in the form of accent tiles and it is used in mirrored surfaces. This makes glass a more popular choice for bathrooms. 3. Quartz composite is a surfacing material that is 93 percent natural quartz. It is stain, crack, scratch, and heat resistant. It is also resistant to most household chemicals and it is mold and mildew resistant, nonabsorbent, and nonporous. 4. Porcelain tile is a type of ceramic tile that can look like stone. It can be glazed or unglazed and water does not hurt it so it can be used in a bathroom. 5. Mosaic tile is used because I can get a lot for my money because I only need to used a small amount as a mosaic tile accent in glass or stone. 6. Integral surfaces is counters and sinks that appears to be made from one seamless, solid piece of material which looks like a clean sleek look. 7. Texture such as pebble-tired floors and walls which shows a natural looking theme. 8. Some synthetic materials that has antibacterial agent that will not washed away. 9. Heated floors are ideal with stone or ceramic floor installations. 10. Green products is Eco-friendly materials, which would be like bamboo and recycled glass, which is used for walls, counter tops, and floors. Nature stone which consists of granite, slate, marble, and limestone can be very expensive material that I can choose for use as a floor or a counter top. Stone is a quality choice for either a counter top or floor, because it is a very durable material. Stone is beauty because of its natural colors. Stone is also porous and this means they have to be sealed. Wood can be used in a bathroom, as long as it is seal properly with a high tech finish and I will not have to worry about any mildew, mold and warping. Wood is better to use as a flooring for a bathroom because it is warm and resilient. Some kinds of wood, such as cedar, teak, and redwood, will hold up better than porous softwoods, such as pine. All wood that I am going to used in my bathroom has to be installed and protected properly. On walls, floors, or counter tops, wood needs to be seal with polyurethane finish or watershed protectors. Ceramic tile offers the best opportunity to bring style and personality to any bathroom. Ceramic tile is use to add pattern, color, and texture to the walls, counter tops, and floors in a bathroom. I can enclose a shower or tub with it. It is versatile, and it comes in many sizes, shapes, and finishes. For long-lasting wear and easy maintenance, I will need to apply a grout sealer in parts of the bathroom that are exposed to water, such as the shower, counter top, tub surround. Glass is impervious to moisture glass does not have to be sealed. The grout has to be sealed. Glass tiles are not shatterproof if something heavy gets drop on them. Glass tiles comes in many colors and sizes. They are luminous and gorgeous. Concrete's surface can be colored inlaid or etched. It can be formed into different shapes. Concrete can be use on counter top, the walls or the floor. Because concrete is porous, it has to be seal. Quartz is the beauty and durability of natural stone and the easy maintenance of a laminate. Quartz comes in more colors than stone. This material can be clean easily and is heat and scratch resistant. It is nonporous, so it does not need to be sealed or polished to resist stains and retain its finish. Solid surfacing material can be repair any dents or abrasions with a light sanding I can used it as a counter top. Plastic laminate is made of layers of paper, melamine, and plastic resin and they are bonded under heat and pressure and then they are glued to pasteboard or plywood. It is easy to instill and they come in many colors. Summary As you can see that there are many different types of surfaces that can be put in a bathroom. The best way I think you need to redo your bathroom, is to put down and go through every type of surfaces, then make a rough draft of what you have chose for your bathroom.
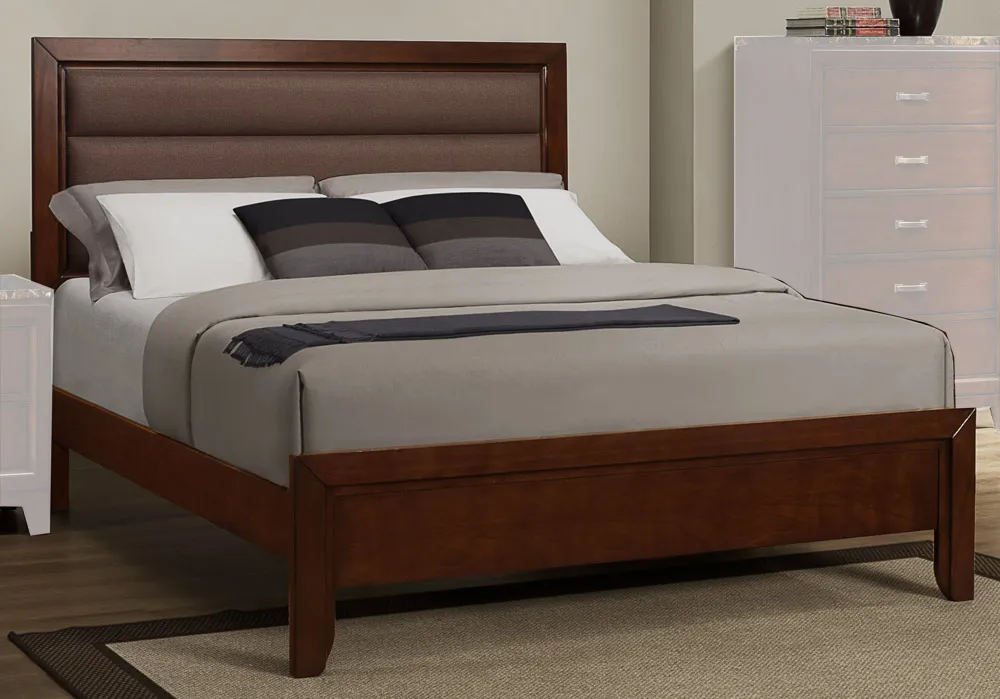
There are many elements that goes into making a bedroom. Today there are so many different ways to tailor a bedroom to everybody's likings. The bed is going to be the largest piece of furniture that will be putting in the bedroom. The other furniture such as a bedside tables, dresses, chairs, and armoires. Also there are floor finishes, wall colors, and window treatment that will go with the style that I have decided on being in the bedroom. The Bed The style of the bed I choose will definitely play a big role in my design of my bedroom. I can either go very espensive on my bed choice or I can go much less expensive way in picking out my bed for my bedroom. Now if I was one that likes to go to flea markets or antique stores, this would be a good place to find a bed. If I do find a bed that I like I will need to know that antique bed frames are made for smaller matteresses, so I will have to make adjustments to allow for today's standard mattress sizes. In my hunt, If I find a old wood headboard that I like because I like the design, but not how it looks, I can change it with using stain, paint, paper, and stencils. If I like to have a brass bed in my bedroom, always keep in mind that the rails and joinery will require a lot of rubbing to keep the rich luster of the brass. If I do not want to do all of that elbow grease I can buy the brass clear-coated. Always try out the mattress before you buy it because you spend one-third of your life lying on a mattress.
Pillows Everybody needs a proper pillow so that your neck and spine gets the support that they need. Bed Sheets The bed sheets and pillowcases are the material that touches your skin. It is very important to get the very best that you can afford. Poly-cotton blends sheets are the most popular because they require no ironing and remain wrinkle-free on the bed. Bedspreads When it is time to buy your bedspreads you will need to go by the style of the bed. Whether you have a bed skirt and pillow shaws or not this will define the style of the room. Comforters made with cluster-fill polyster and cotton are suitable for those who like a lot of warmth while you sleep. Handmade quilts and chenille bedspreads are very popular now.
Blankets Today there are so many different kinds of blankets on the market such as man-made blends, woolens, chenille and cashmere treasures.
Storage Strategies Storage is always a challenge, it does not matter what type of trailer, house or apartment, you live in there are always problem with not having enough space.
A closet organizer will make a lot of difference in your storage problems.
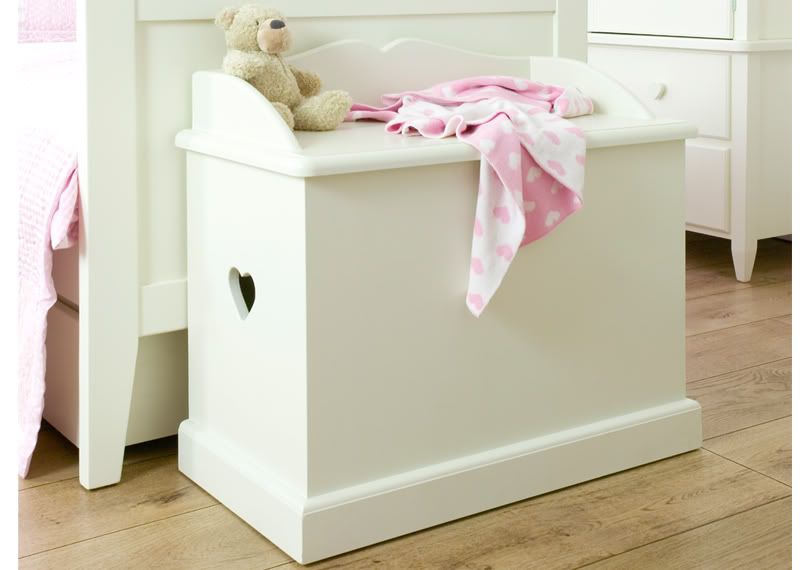
Armories also is another useful piece of furniture for your storage situation. If you use your bedroom in many different ways on armoires works well. Blanket boxes and old steamer trunks are very useful in storing sweaters, linens, and maybe putting pillows.
Sometimes people likes to use wicker baskets for holding handbags, reading materials, picture albums and belts. Other Furniture A bedside table is hard not having one in a bedroom. Sometimes people likes to have a window seat in their bedroom. Some people like a dressing table, and maybe a chair and a footstall in their bedroom.
Walls Walls can be painted or wallpaper can be put on the walls. Ceilings If you want to keep your ceiling just clean and simple, the best way to do this, is to paint in a lighter tone of the bedroom's wall color. Floors There are many types of floors that can be in a bedroom. Hardwood floors, marble and metal are some types of flooring you can have in your bedroom. Carpeting is another option of flooring. Curtains and Window Dressing Simple lined curtains are a real good option. These curtains will give you privacy and light which are two things that everybody wants in their bedroom. Lighting Before you decide on the lighting you will need to fiquire out how you are going to use the space. You will be needing mood lighting, reading lights, and task lighting if you are going to be putting make-up on.
Summary There are many elements that has to be done to get your bedroom the way you will want it.
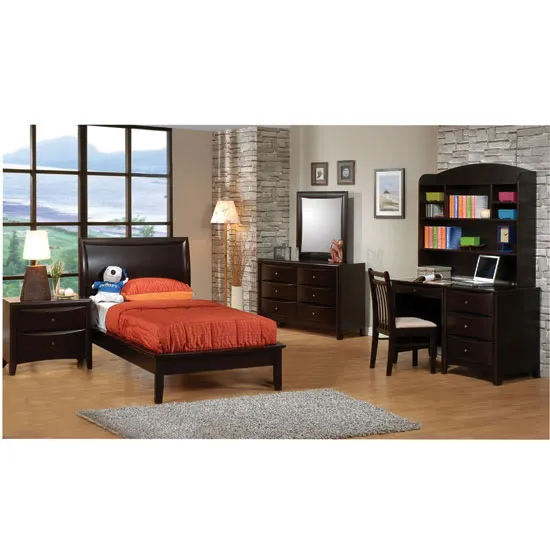
There are several different items in order to create a restful bedroom. A restful bedroom should always include a bed that is comfortable with very soft bed covers. There should also have comfortable flooring, planned lighting, well-regulated temperatures, good ventilation and window treatments that you like. Another thing that you always need to have in your bedroom besides physical comfort you also need to have peace and quiet. To be about to have peace and quiet. in your bedroom you will have to be about to have sound insulated with double glazing if you are able to have. As you start to decorate your bedroom, you will need to add as many personal effects in your bedroom. Bedrooms are the most personal and private room in your home. These are rooms where we are suppose to regain our energy, as well, as let our brain to re energized. We also need to be able to obtain restful sleep. Another way to obtain a restful bedroom is to have plenty of storage space for all of your possessions to be put in proper places. This is especially true in a bedroom so it will be calm, uncluttered space. But if you are thinking about planning bedroom storage places in your bedroom, you might want to consider a small area right by your bedroom if you have this and turn it into a storage area or a walk-in-closet area. If you don't have the space or funds for a storage area or a walk-in-closet area separately then you can use free-standing storage units. Free-standing armories, chests, dressers, and wardrobe closet are great to use as storage solutions in your bedroom. These storage units can be bought ready-made, custom-built or you sometimes can find old armories, huge wardrobes, or old cupboards that have a lot of room.in thrift shops. Small items like sweaters, underclothes, and other items can be kept in dressers or chest of drawers. If you still are having storage problems, you can use chest of drawers on either side of the bed and you can use them also as bedside tables and put a chest at the foot of the bed for extra storage. Some people like to have a window seat located under their window and they can also use this for storage. Space under your bed can be use for small storage containers. The storage for your bedroom has to be able to accommodate your personal possessions and sometimes personal papers and records too. The closets fronts should be made to go with the rest of the bedroom decorative treatment, whether wallpapered, covered with fabric or painted. You also want your closets to look like objects in their own right, whether it is in trim and color. Bedroom lighting needs to be a mixture of good overall light because you need to have lighting for your closets, and for reading or studying if you are in school. If you like to read in bed like me you need to have a bedside light tall enough so you can sit comfortably in bed. Windows that are in your bedroom can have shutters or you can have curtains with sheets or you can use lowered or mini blinds. Bedrooms colors should be restful such as grays and white, blues and whites, rose and cream. If you want more accent colors, such as reds, greens, and reds these colors should be added to your bedroom by using throws, pictures frames, rugs, and so on. But if you are one that prefers having strong, dark colors then that would be just fine. SUMMARY Bedrooms should be a very soothing room where people can be able to always have a very restful sleep and be able to have a very energized sleep also.
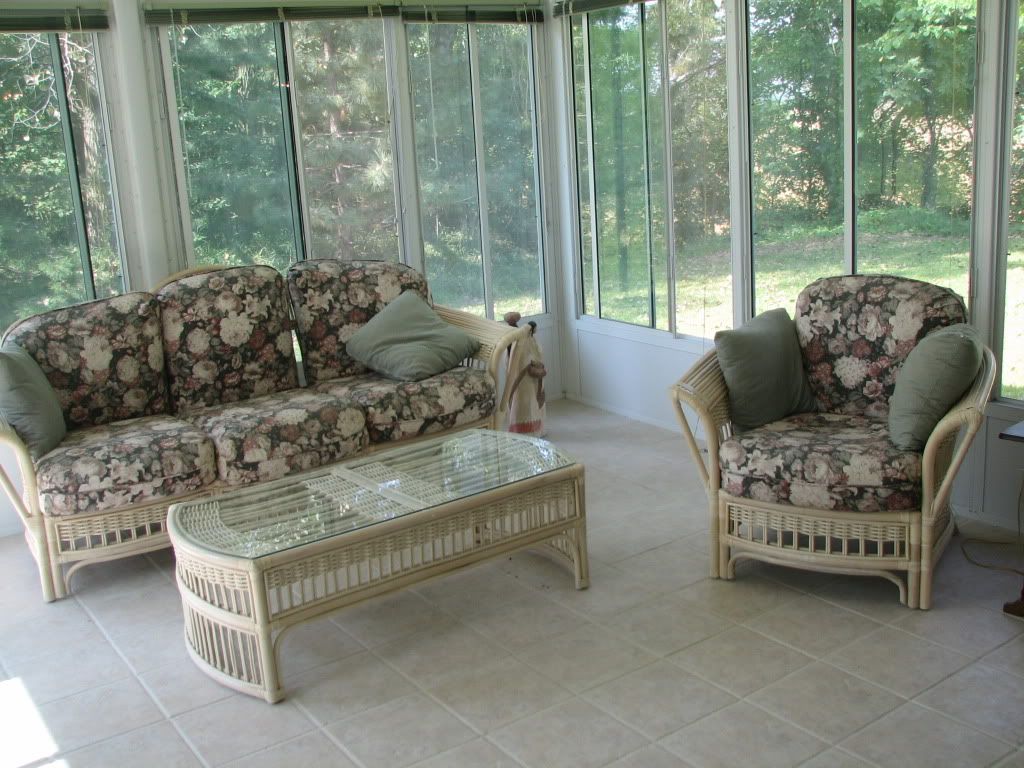
The floor that I have in mine sunroom can be as carefree as mine sunroom is. A tile or brick surface is a very good and durable choice., for flooring. If I use hard, surface flooring it will store the sun's heat during the winter and this will help keep the room warm at night.
I like a low maintenance type of flooring for my sunroom, ceramic tile is a very good choice. This type of floor needs an occasional vacuuming and damp mopping. No sealant is needed for the tile, but the grout should be seated for easier cleaning. By using ceramic tile a major consideration is the method of setting the tile. If you are using thicker tile 1/4 inch should be thick-set in a 3/4 inch motar bed. Thinner tiles 1/4 inch can be set on a 1/4 inch mortar bed. Always make allowances for the total thickness of the floor.
Another type of tile that you can use is called quarry tile and this is unglazed ceramic tile. They get the color from the clay and the colors range from light tan to dark brown. This type of tile has an even matte finish Since I want my tile to have a glossy finish, my tile has to be sealed. I will coat the tile surface with a metallic oxide glaze before firing, I will get glazed title. When fired, the glaze gives the tile surface its color and texture. They come in many different colors from bright to subtle. Surface texture ranges from smooth to rough. Glazed tile do not need to be sealed.
Mexican tiles is a softer tile which comes in large squares. This tile has to be sealed either before or after installation. Because this tile is thick and irregular it is difficult.
Vinyl tiles also comes in a variety of different colors and sizes. Because of the thinness of the tile, it can be used in places where other materials would not be able to used because of the thickness. Brick is another long-wearing materials for floors. Brick pave rs will have a glossy sheen to it, if a protective sealant is put on it.
Summary
There are many different types of floors that you can use in your sun room. What is so nice about these types of floors they are all easy to keep clean and they are durable.
Wood floors introduce warmth and this gives the kitchen a feeling of comfort. A wood floor finished on-site with oil or wax it will have a beautiful sheen, but it will need yearly refinishing. The first thing I will need to do is to load a medium-grit belt on the sander, and sand in the directions of the wood stripes. Always keep the tool moving to avoid damaging the floor. Then after two passes with the sanders, vacuum completely and now I will need to apply either a stain or the first coat of polyurethane. I will need to let the polyurethane dry, and then I will need to buff with a steelwork disk attached to a rotary buffer. I always follow the grain of the wood when I am buffing. The last step I will need to do is make sure mine floor is real clean and I will need to apply at least one more coat of finish. Summary As you can see that it does not take many materials to refinish your wood floor. This is very good because your wood floor needs to be refinish every year.
Several years ago, we were thinking we need to change our flooring in our house. We had already talked about different types of floors,so we narrow it down to putting laminate flooring. We decided on this, because we were doing our whole house, not just a room or two.
Our next step, was to go to several different home improvement stores, and check out the different types of flooring that each store had to offer, we picked out what we like and brought the floorings along with the other materials that we would need to put down our laminate flooring. The materials will be tapping block, laminate flooring, hammer, jamb saw, installation kit, clamps, sawhorses,[one pair], circular saw or handsaw, utility knife, underlayment [one roll covers approximately 100 square feet.
Before we started putting down our flooring, we done a few things first, so this help us to be able to install our flooring easier. We let the flooring sit in a room in our house for at least 48 hours. We do this to allow the flooring to expand or contact to the temperature and humility so the flooring will not buckling later. Before we started putting the flooring down, we have to remove existing trim which would use a pry bar. to remove all the baseboard, getting them out of the way. The next step is to plan the layout carefully. Always determine which way the planks are going to laid. Start with the longest and straightest wall and then run all the planks parallel to it.
Laminate planks needs to be installed over a hard , smooth, surface., which can be a plywood subfloor. I will need to take my utility knife and cut the pieces to fit, without having overlapping strips. My next step, is I will need to cut the first row of planks lenghtwise I will cut with my handsaw and I will finished side up I will put clamps on to steady the planks.
The next step, I will used the spacer chips between the wall and the planks to leave about 1/4 inch to leave room for the plank pieces to expand and contract.
The next step, is to install the first roll. I do this by putting the tongue edge facing the wall. When I get to a door jam casing, I will need to cut the casing, I will need to cut the casing 1/6 inch from the top of the subfloor by using a jamb saw, so that my laminate plank will slide under it. The next step, is where I will be connecting the planks together by snapping one piece to another by connecting the tonges and grooves. I fit each plank by hand. After this row, it is time to start another row of planks. I will stagger the seams at least 12 inches from rows already putting down. When I get the last angle< I will use a pry bar to gently place it. I also left a 1/4 inch expansion gap between the last row of planks and the wall. Since we have put all of our flooring down throught out the house, it was done by my family and I, We love the flooring and they are easy to keep clean.