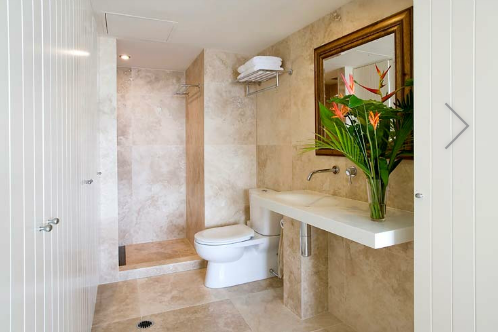
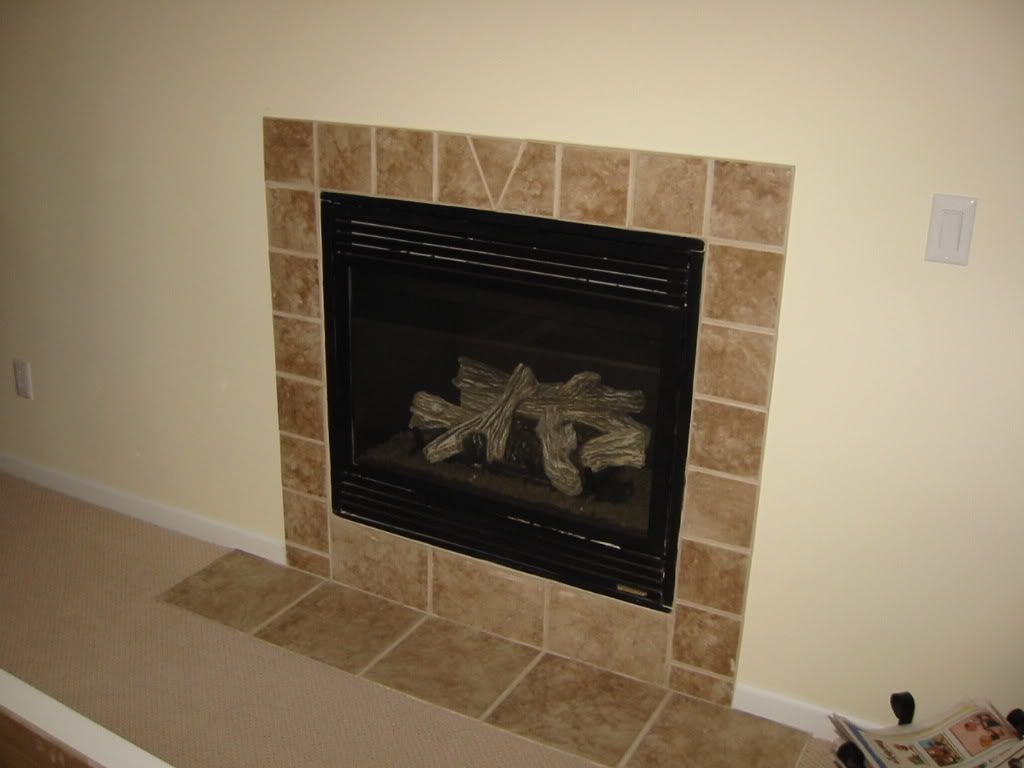
Ceramic tiles provide a decorative and practical finish to walls, worktops, and fireplaces. They come in so many different colors, surface textures, and shapes such as plain ones to charming rustic designs or multi-colors ones.

Because ceramic tiles are long-lasting, you will need to be sure of your decisions on your tiles selections.
Tiles usually have smooth, glossy surface finishes, but if you have chosen rustic appeal tiles they will have an uneven or embossed surface.

Always measure accurately because ceramic tiles are expensive. Multiply the height by the width of the area to be covered to find the number of square yards and divide by the area of one tile to find out how many you need and you need to add at least 10 percent in case for breakages.
I usually will need to cut some of the tiles in order to get the area to fit exactly. Do not put the cut tiles in the middle, but always put them on the edges.

The walls need to have careful preparation done to it so it is easier to fix the tiles and prevents problems that might come up later on. Strip off wallpaper if you have wallpaper on your wall and fill cracks and holes with interior filler and remove flaking paint. Then sand smooth, then follow up with a coat of stabilizing solution to provide a good surface for the adhesive.
TOOLS
1. Adhesive
2. Trowel or spreader
3. Grout
4. Grout finisher
5. Measuring rod
6. Spirit level and a plumb line and lob
7. Marking tools- Chalk, felt, pen, ruler, and sponge
8. Tile spacers
9. Batten
10. Hammer and masonary nails
11. Tile cutter
12. Tile file
13. Tile nibbers
14. Frame saw
Starting To Tile
1. Plan on the position that you want to put your tile.
2. Use a plumb line or spirit and draw a vertical line in the center of the area that is to be tiled. Put a mark where the top of each tile will be so you can check the finished positioning of rows.
3. Use the notched spreader and apply the adhesive working on the area that is the size of six tiles. Take the spreader and draw the spreader firmly across the wall so to be able to get the adhesive even. Do not put adhesive at the ends of the rows where the cut tiles will be.
4. To position the first tile, you will need to use the basin or both for support to position the bottom edge of the tile against the wall first, and then press flat. Use the spirit level to check to make sure the tile is horizontal and if it is not then you will need to adjust it.
5. Continue laying the tiles along the first row. If you are using standard tiles, you will need to position tile spacers at upper corners, beading them down below the level of the tiles so that the grout will cover them. Always leave gaps at the ends where the tiles need to be cut.
6. Cover the rest of the area with tiles, row by row. Use your spirit level at regular intervals to make sure that all the tiles are straight. Use a clean sponge and wipe off any excess adhesive from the surface of the tiles.
7. To fill gaps at edges, place a title in each gap, put glazed side down, and mark the tile at the top and the bottom with a marker pen, always allowing room for grouting. On the glazed side, then you have to join the marks with a pen and a ruler. Check to see if the tiles fits the gaps before you do only cutting.
8. When you are cutting tiles you need to firmly score once along the marked line using a ruler to guide the blade. Now position the jaws of the snapping tool on either side of the marked line and squeeze to make a clean break. Then smooth down cut edges with a file before fixing. If a tile only needs to be trimmed then score the tile, then you need to use pliers or nibblers to remove the excess.
9. When you have all of the tiles laid, you will need to wipe them clean and allow 24 hours for the adhensive to set completely.
10. Mix the grout and use a slightly damp sponge and spread it over the joins betweens the tiles, forcing the grout into the gaps as you go. Wipe off any excess before it sets. Then smooth down the surface with a blunt end of a pencil. Then take a soft cloth and polish them.
11. Use a seal strip instead of grouting where the splashback meets the sink or both to prevent water penetration. Apply sealant directly from the nozzle of the tube then smooth with the back of a spoon dipped in water. Remove excess immediately with a damp cloth.
SUMMARY
The use of tiles to make a splashback can be easy if you have all the tools to do it with and all the instructions. There are so many different kinds of tiles, some plain and some have designs on them.