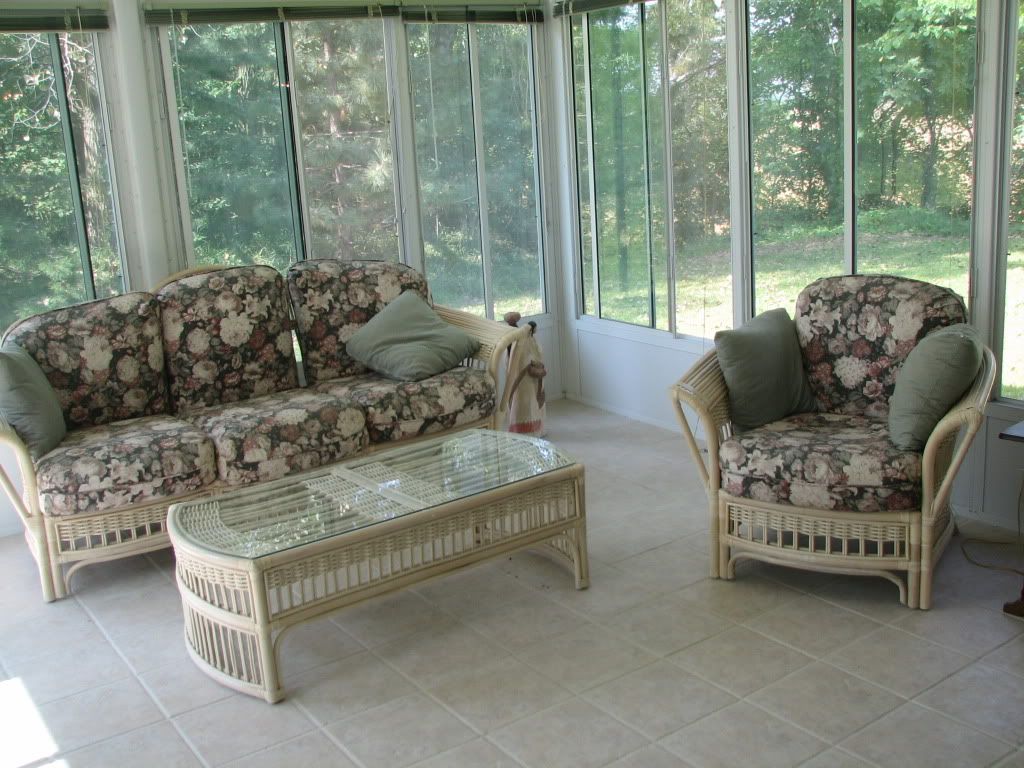
The floor that I have in mine sunroom can be as carefree as mine sunroom is. A tile or brick surface is a very good and durable choice., for flooring. If I use hard, surface flooring it will store the sun's heat during the winter and this will help keep the room warm at night.
I like a low maintenance type of flooring for my sunroom, ceramic tile is a very good choice. This type of floor needs an occasional vacuuming and damp mopping. No sealant is needed for the tile, but the grout should be seated for easier cleaning. By using ceramic tile a major consideration is the method of setting the tile. If you are using thicker tile 1/4 inch should be thick-set in a 3/4 inch motar bed. Thinner tiles 1/4 inch can be set on a 1/4 inch mortar bed. Always make allowances for the total thickness of the floor.
Another type of tile that you can use is called quarry tile and this is unglazed ceramic tile. They get the color from the clay and the colors range from light tan to dark brown. This type of tile has an even matte finish Since I want my tile to have a glossy finish, my tile has to be sealed. I will coat the tile surface with a metallic oxide glaze before firing, I will get glazed title. When fired, the glaze gives the tile surface its color and texture. They come in many different colors from bright to subtle. Surface texture ranges from smooth to rough. Glazed tile do not need to be sealed.
Mexican tiles is a softer tile which comes in large squares. This tile has to be sealed either before or after installation. Because this tile is thick and irregular it is difficult.
Vinyl tiles also comes in a variety of different colors and sizes. Because of the thinness of the tile, it can be used in places where other materials would not be able to used because of the thickness. Brick is another long-wearing materials for floors. Brick pave rs will have a glossy sheen to it, if a protective sealant is put on it.
Summary
There are many different types of floors that you can use in your sun room. What is so nice about these types of floors they are all easy to keep clean and they are durable.
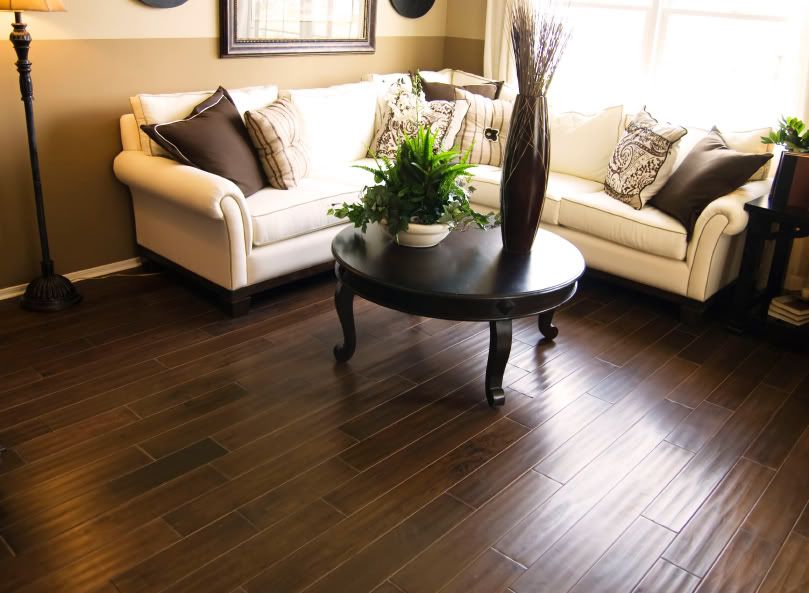
Wood floors introduce warmth and this gives the kitchen a feeling of comfort. A wood floor finished on-site with oil or wax it will have a beautiful sheen, but it will need yearly refinishing. The first thing I will need to do is to load a medium-grit belt on the sander, and sand in the directions of the wood stripes. Always keep the tool moving to avoid damaging the floor. Then after two passes with the sanders, vacuum completely and now I will need to apply either a stain or the first coat of polyurethane. I will need to let the polyurethane dry, and then I will need to buff with a steelwork disk attached to a rotary buffer. I always follow the grain of the wood when I am buffing. The last step I will need to do is make sure mine floor is real clean and I will need to apply at least one more coat of finish. Summary As you can see that it does not take many materials to refinish your wood floor. This is very good because your wood floor needs to be refinish every year.
Several years ago, we were thinking we need to change our flooring in our house. We had already talked about different types of floors,so we narrow it down to putting laminate flooring. We decided on this, because we were doing our whole house, not just a room or two.
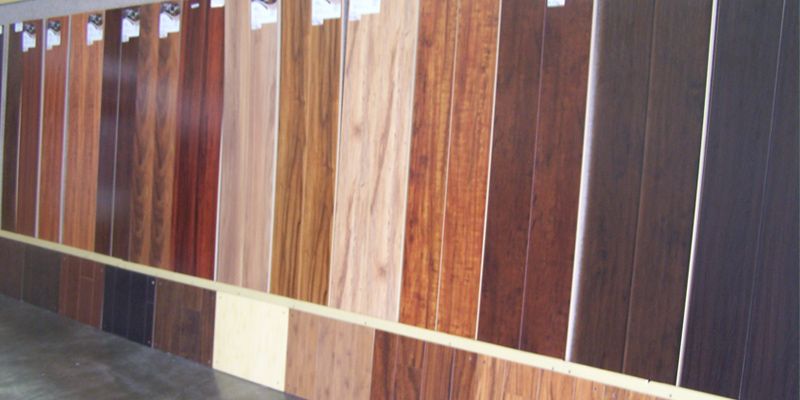
Our next step, was to go to several different home improvement stores, and check out the different types of flooring that each store had to offer, we picked out what we like and brought the floorings along with the other materials that we would need to put down our laminate flooring. The materials will be tapping block, laminate flooring, hammer, jamb saw, installation kit, clamps, sawhorses,[one pair], circular saw or handsaw, utility knife, underlayment [one roll covers approximately 100 square feet.
Before we started putting down our flooring, we done a few things first, so this help us to be able to install our flooring easier. We let the flooring sit in a room in our house for at least 48 hours. We do this to allow the flooring to expand or contact to the temperature and humility so the flooring will not buckling later. Before we started putting the flooring down, we have to remove existing trim which would use a pry bar. to remove all the baseboard, getting them out of the way. The next step is to plan the layout carefully. Always determine which way the planks are going to laid. Start with the longest and straightest wall and then run all the planks parallel to it.
Laminate planks needs to be installed over a hard , smooth, surface., which can be a plywood subfloor. I will need to take my utility knife and cut the pieces to fit, without having overlapping strips. My next step, is I will need to cut the first row of planks lenghtwise I will cut with my handsaw and I will finished side up I will put clamps on to steady the planks.
The next step, I will used the spacer chips between the wall and the planks to leave about 1/4 inch to leave room for the plank pieces to expand and contract.
The next step, is to install the first roll. I do this by putting the tongue edge facing the wall. When I get to a door jam casing, I will need to cut the casing, I will need to cut the casing 1/6 inch from the top of the subfloor by using a jamb saw, so that my laminate plank will slide under it. The next step, is where I will be connecting the planks together by snapping one piece to another by connecting the tonges and grooves. I fit each plank by hand. After this row, it is time to start another row of planks. I will stagger the seams at least 12 inches from rows already putting down. When I get the last angle< I will use a pry bar to gently place it. I also left a 1/4 inch expansion gap between the last row of planks and the wall. Since we have put all of our flooring down throught out the house, it was done by my family and I, We love the flooring and they are easy to keep clean.
There are three laws of painting. These are the secrets of painting. You will need to understand and utilized these laws that dictates the way paint is apply. 1. Never paint out of a paint can. a. Container contamination- this is when a person paints, the brush will always picks up grease, dust, grime, fly boogers, spider snots, and other spots. When the brush is put back in the paint can to reload, all the debris=s ends up back in the can and this contamination will end up in the paint. This causes specks and flecks in the paint finish. b. Dangerous drying- As I paint from an open, full can, I noticed that the paint becomes very sticker, gooier, and thicker. This happens because air is reacting with the exposed paint, which is setting up in my can, not on my wall. c. Material mover- A paint can needs to be only for storage and for delivery container. It was not designed to be painted from or carried around because it is to big and heavy. 2. Pour only 1/2 inch of paint into my container. a. Material management- I will only need to pour 1/2 inch of my paint into a plastic bucket. By doing this, I can refresh the paint more often, and this keeps its liquid state for better flow and bond to the surface. b. Lighter load- By having only 1/2 inch of paint in my bucket I will have less weight to work with, and avoid fatigue at the end of the day. c. Split spoiler- Because I have only 1/2 inch of paint inthe bucket if I happen to fall, it will be less to clean up, if I happen to spill the paint. 3. The enemy of paint is air. a. Air mwares- The air around us is the drying agent for paint. If the lid isssssssss on my paint can the paint will be fine, but when I take the lid off this is when my paint starts to dry off. b. O2 factor- Oxygen is the reactor that will turn paint from a liquid to a solid. Exposure to air thickens the paint, creating drag during the application, producing brush strokes in the finish. c. Cap it- Always replaces the lid to the top of the pan to keep the air out. Summary If you are getting ready to do some painting, first remember the laws of painting and do the laws of painting.
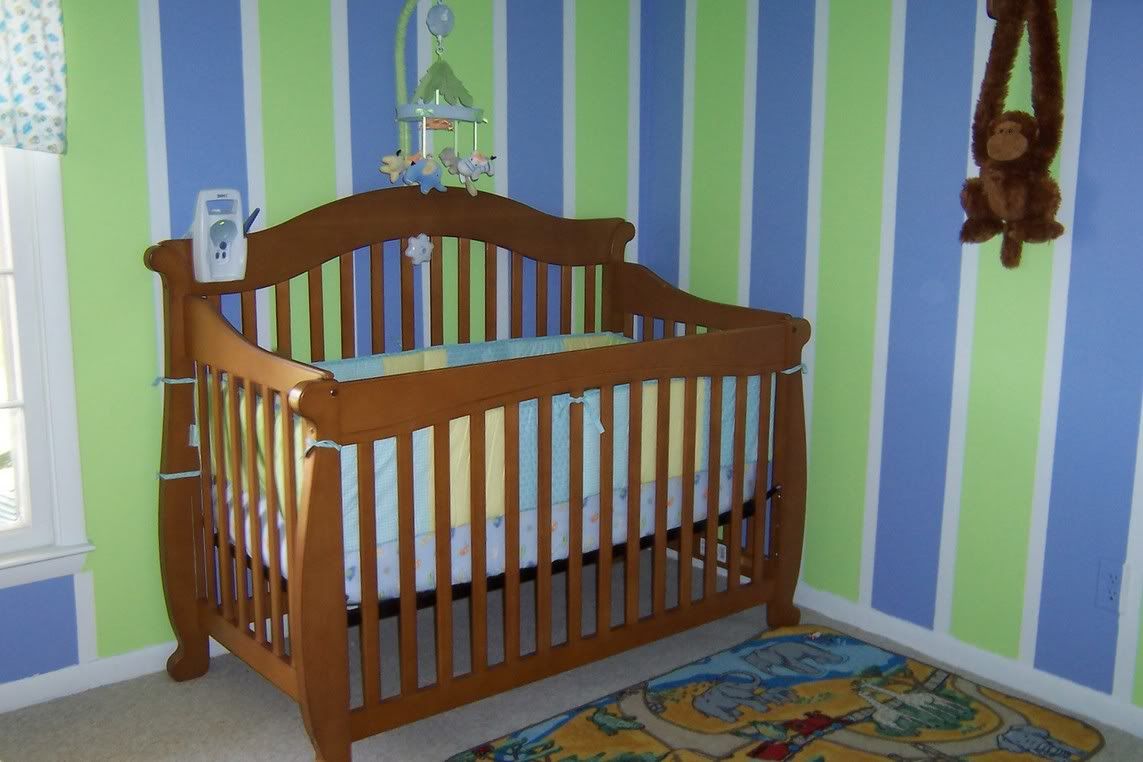
It does not matter whether my stripes will be broad or narrow, solely, edged, or crisply delineated, because stripes are always of the moment. When I think of stripes, I think about deck-chair canvas and awning.
Before I start painting, the surface has to be prepared. The surface has to be real smooth Step 1. Apply Masking Tape I will need to apply stripes of tape to the wall. Put the stripes of tape closed together for narrow stripes, put them far apart for wide ones. Step 2. Paint Over The Tape I will need to rub down the sides of each strip of the masking tape to make sure that it is down on the wall real good. The next thing I will do is to paint over the masking tape, painting in long vertical brush strokes so the paint is not forced under the edges of the tape. Leave it to dry. If I paint my stripes onto a dark base may need a second coat of paint. Step 3. Peel Off The Tape When the paint is, thoroughly dry I will then need to carefully peel off all the strips of the masking tape. To peel the tape off of the wall, start at the top and work down to the bottom using a steady movement to reveal my stripes that are beneath the tape.
Summary If I am ready for a change in one of my room , stripes would be something that I could do. This way I would not have to paint a whole room, just plan it out so that both colors of paints that are used go well together.